Bring your vpc
Using an Existing VPC for Cluster Creation

- Click Add Cluster in the top-right corner.

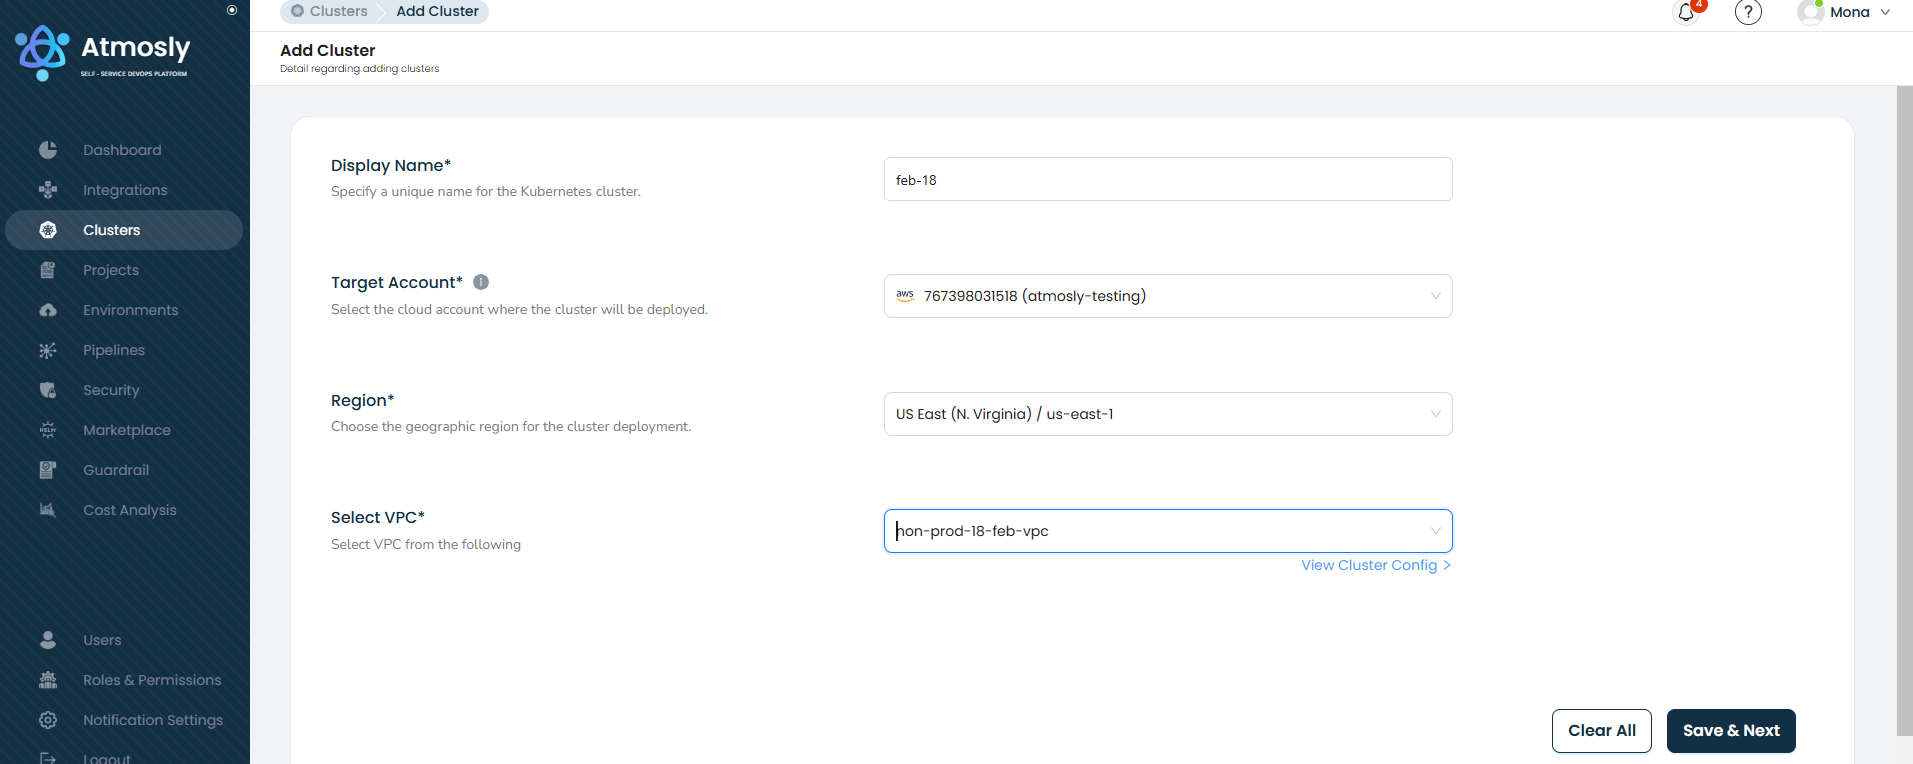
- Fill in the required details for creating a cluster:
➤ Display Name: Provide a unique name for the kubernetes cluster.
➤ Target account: Select the cloud account for deploying the cluster.
➤ Region: Choose the desired geographic region for the cluster deployment.
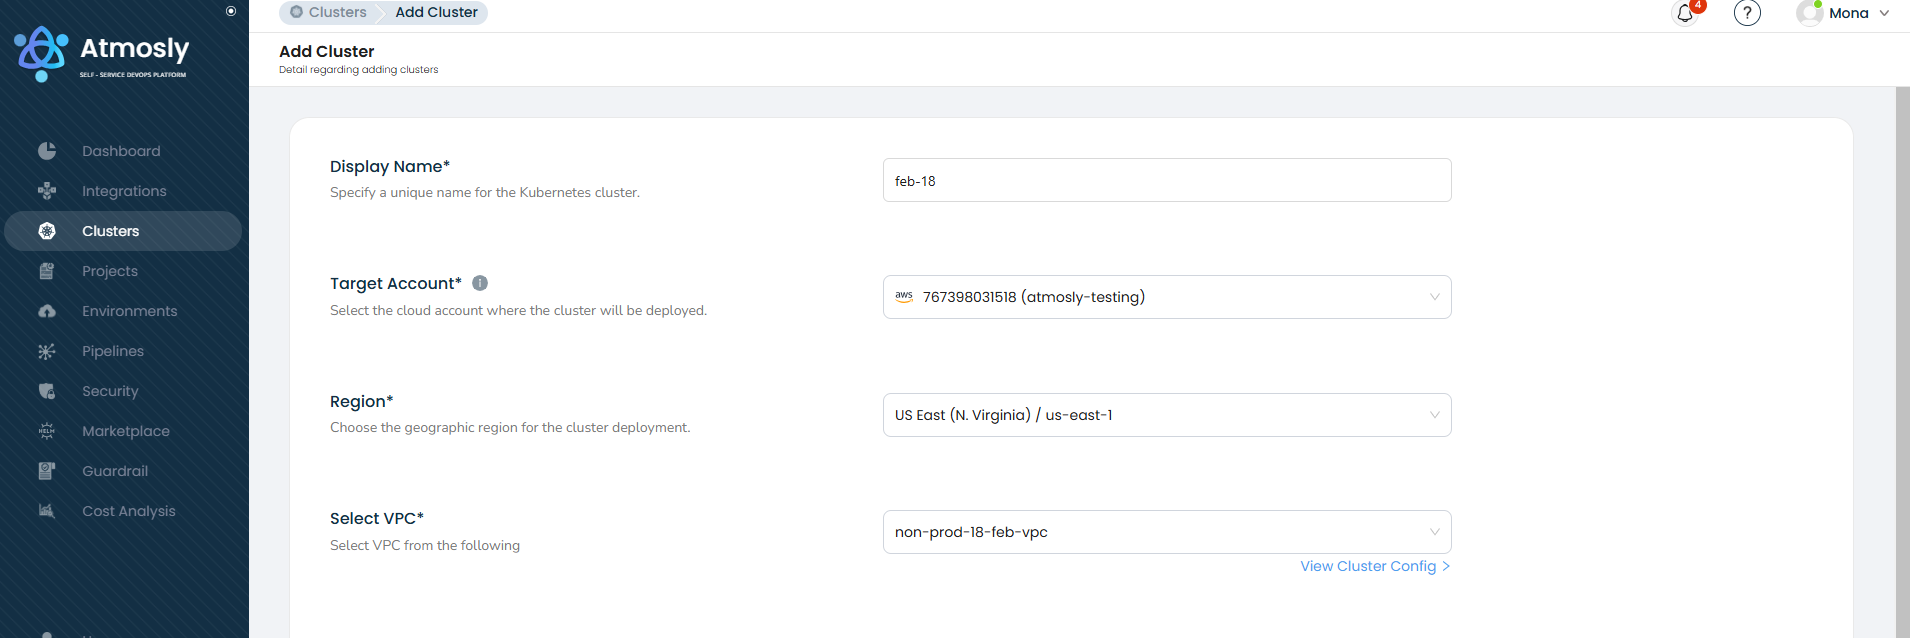
➤ Select VPC: Choose to either use an existing VPC or create a new one. A complete list of existing VPCs is also displayed for your selection.
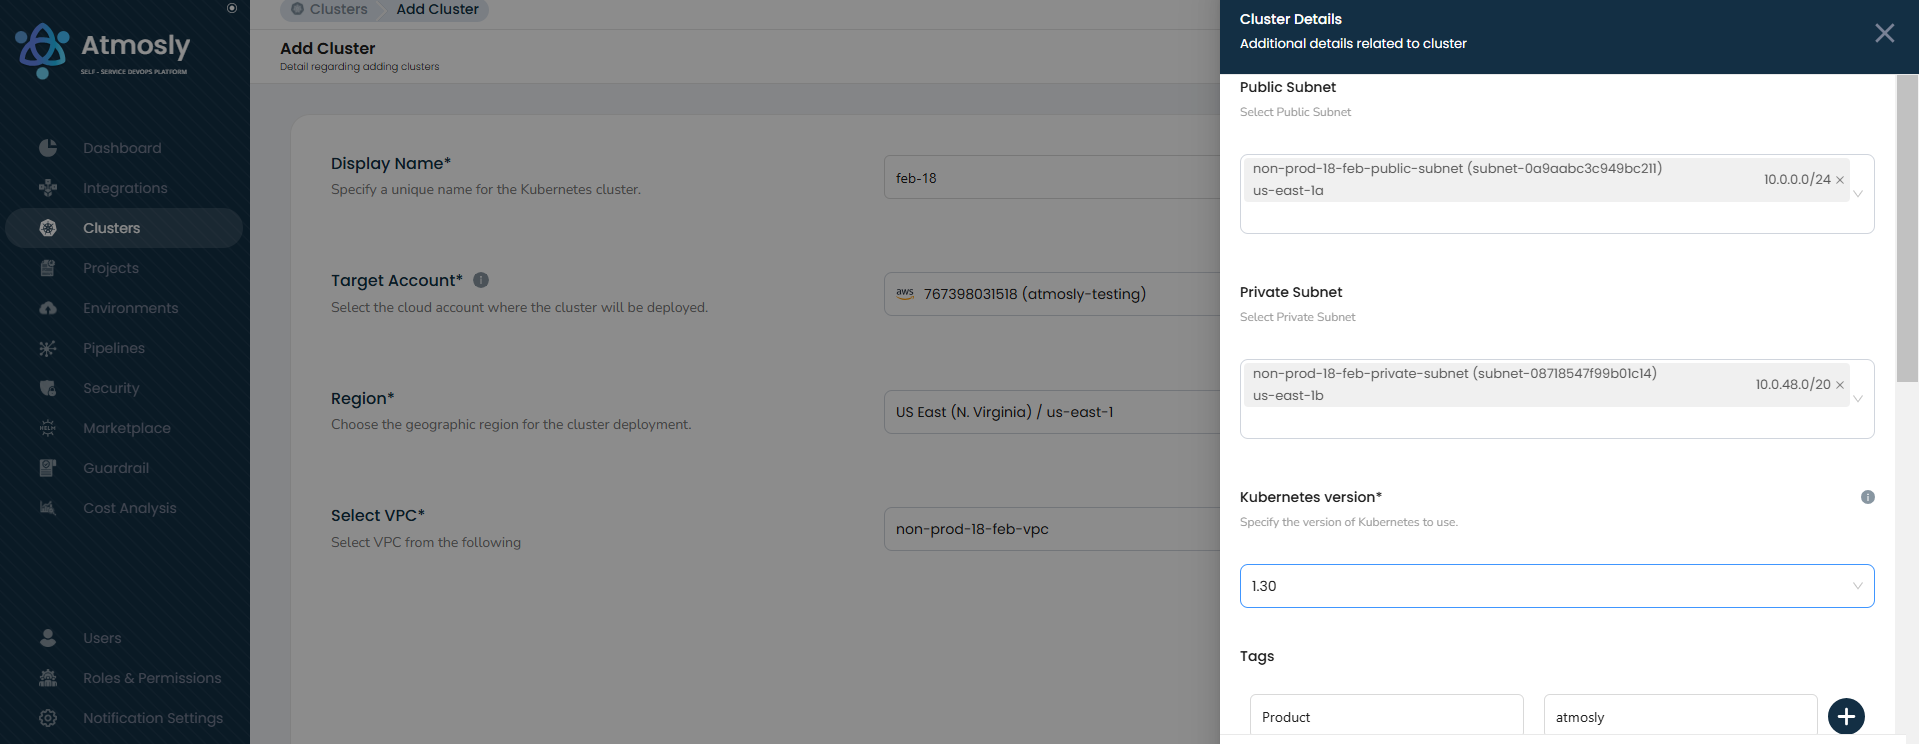
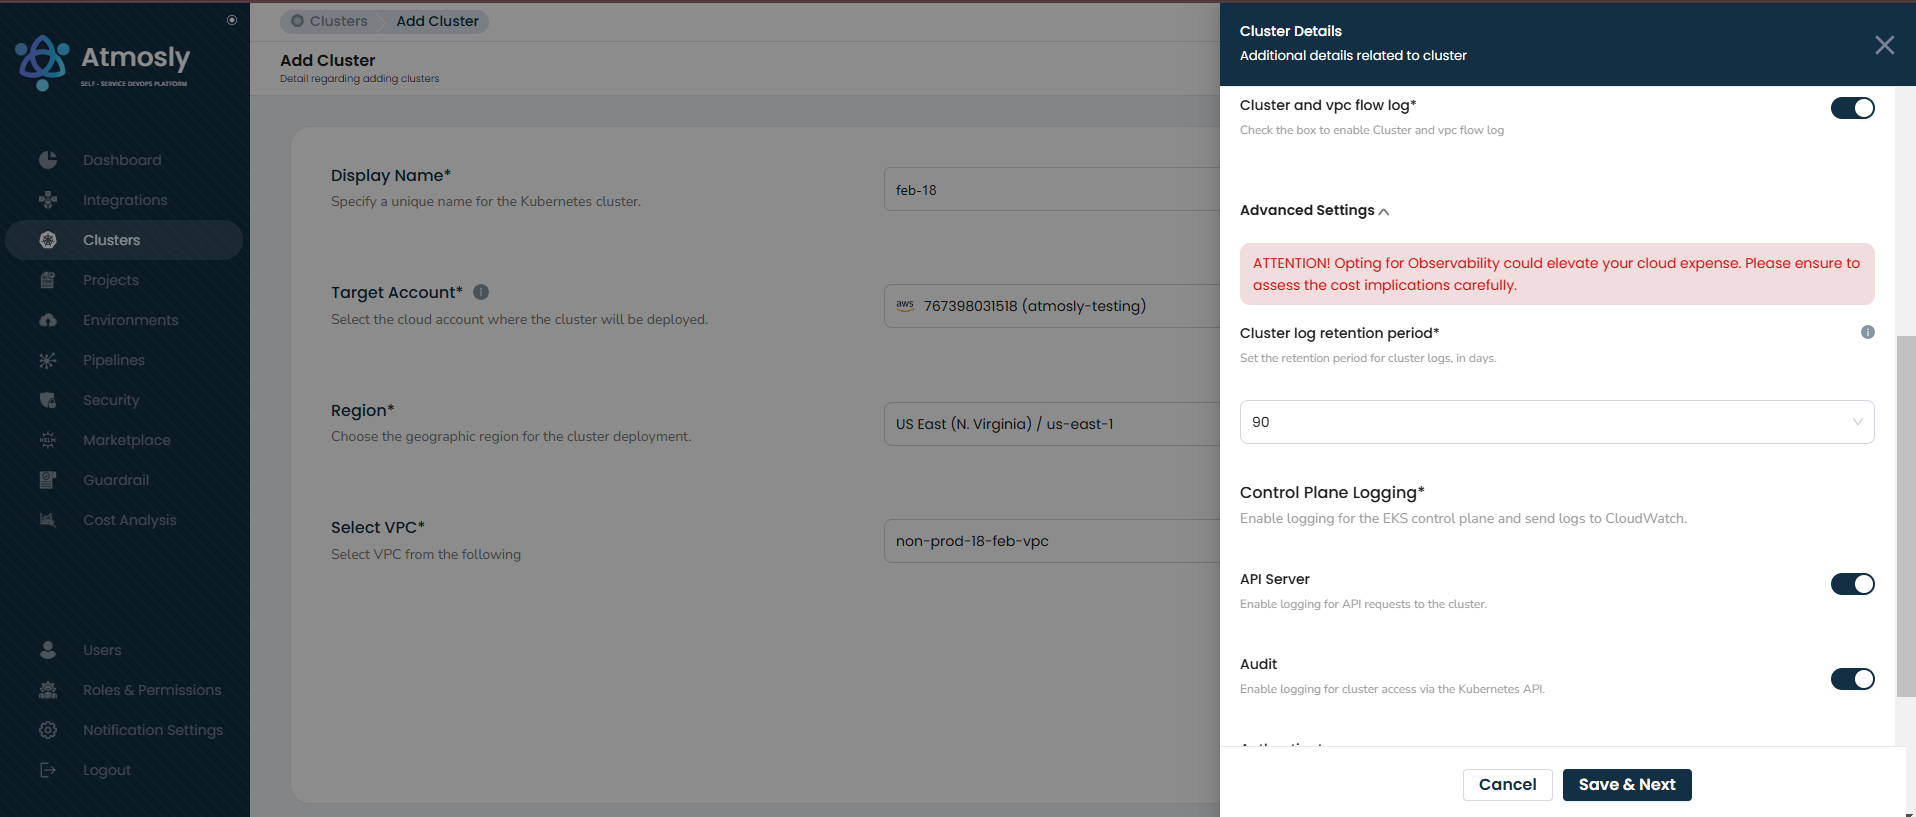
When selecting an existing VPC, you can add details like private and public subnets, Kubernetes version, tags, and enable cluster and VPC flow logs by clicking on "View Cluster config" in the VPC section.
View Cluster Configuration

Additional details related to the cluster


Click on Save & Next to proceed.